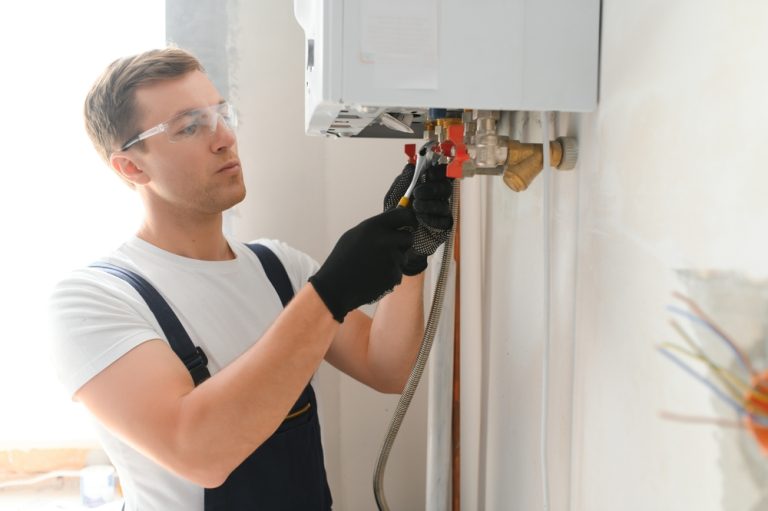
A home’s water heater is an essential part of comfortable living, and being able to safely adjust its settings ensures you’ll enjoy the appropriate temperature.
It’s not uncommon for property owners to take their water heating unit for granted. A properly functioning model produces consistent water as if it came right from the ground at the perfect level. Truth be told, home and commercial property owners periodically need to make as-needed changes to produce the ideal conditions for showers, dishwashers, and washing machines. If you’re experiencing inconsistencies, knowing how to turn up water heater settings can resolve this issue.
Understanding Your Water Heater
Unlike some other appliances, water heaters are typically positioned in underused spaces. Yours may be located in the basement, crawl space, closet, or elevated in order to maximize usable square footage. That’s usually because property owners infrequently need to make adjustments or repairs. In an effort to become more familiar with your particular product and learn how to turn up water heater levels, these are key elements you need to know.
- Tank: This is where water is stored with a protective liner. Water tanks usually hold 40 to 60 gallons at 50-100 pounds per square inch of pressure. It also has a decorative shell that covers insulation materials.
- Burner: This uses either natural gas, liquid propane, or electricity to warm the water in the tank. Fuel sources generate a flame inside the unit, while electricity does not generate fire.
- Pressure Release Valve: You may notice a small lever on the tank’s exterior. This is only used in emergencies, in the event the pressure inside the tank exceeds safe levels.
- Shut-off Valve: The shut-off valve allows you to stop water from entering the unit. This part usually comes into play when the appliance is not operating or is under repair.
- Drain Valve: Located near the bottom of the unit, this valve can release built-up sediment that negatively impacts water heater functions.
- Heating Element: A heating coil is responsible for bringing water temperatures to the appropriate level in a model powered by electricity. Heating elements are generally located at the bottom of the water tank.
Lastly, the thermostat is the part that directly monitors water temperature. You’ll probably find it close to the burner. Your owner’s manual can help identify these and other parts. It should also provide instructions for fine-tuning the system. If you’ve lost your owner’s manual, contact a professional plumber before attempting to raise the water temperature. Reliable Plumbing, Heating, and Welding is ready to help you adjust your water temperature and avoid injury or damage to the unit.
Safety Tips for Water Heater Adjustments
Anytime you feel compelled to deal with an unfamiliar appliance, it’s essential to adhere to the “safety first” motto. This holds particularly true when attempting to adjust items powered by flammable resources or electricity. At Reliable Plumbing, we urge homeowners to follow strict safety practices outlined in their owner’s manual, such as the following.
Disconnect the Power Source
Safety dictates that you always disconnect the electricity or gas source from the water heater before making corrections. This step helps prevent injuries such as an electric shock or a severe burn. Powering down a unit can also avoid starting a fire inadvertently. Keep in mind that when a burner’s pilot is off, it may still be emitting natural gas or liquid propane. Refer to your owner’s manual regarding the safety steps involved in shutting off gas and electricity.
Adjust Your Water Heater
Once the power sources have been shut down, carefully set the thermostat to your desired temperature. One of the common errors that people outside the plumbing trades make is overcompensating. Rather than put the unit excessively high, consider incremental changes. Manufacturers typically recommend that standard water heaters remain at or below 120 degrees.
Not only does this threshold help to avoid getting scolded in the shower, but it also extends the life of the appliance. Extreme temperatures wear on the unit and too often lead to unnecessary sediment build-up inside the tank. Lower water heater settings also maximize energy efficiency and reduce otherwise high utility bills. If you don’t experience immediate changes, be patient. Some heaters take up to 24 hours to adjust to the new settings consistently.
Check Your Water Temperature
If you turn on the faucet after 24 hours and do not experience an immediate change in warmth, allow it to run for a while. The newly heated water will need to circulate through the system. If the pipes are cold, it could take longer to enjoy your new setting. It may also be prudent to circle back and insulate pipes that are affected by cold air.
That being said, avoid putting your hands or even a single finger under the tap. You may be surprised by a sudden rush of hot water and get burned. Instead, use a thermometer to check the water temperature. This will also provide you with an objective metric of how hot you want the system to run. With this number in hand, follow the safety steps and tweak the system. It may take a few passes to arrive at the perfect temperature for faucets, showers, dishwashers, and clothes washing machines.
Keep Your Water Heater Up to Date
Older models and those that are beginning to fail require frequent water temperature adjustments. It may prove more comfortable and cost-effective to install a reliable new water heater that offers improved energy efficiency.
Contact Reliable Plumbing for Your Hot Water Needs
Properly adjusting the temperature of your water heater is crucial for a reliable supply of hot water. By following some simple tips and having a good understanding of the process, you can improve the efficiency of your water heater and avoid any potential injuries or damage. We hope these safety tips are helpful. If you have a water heater emergency or need a new model installed, contact Reliable Plumbing, Heating, and Welding.

