HONEST, NO PRESSURE, PLUMBING HEATING & COOLING
Blog
- Home > Bathroom
16 Apr. 2024
Why Does My Toilet Keep Clogging? Exploring Repeated Issues
Understanding the root cause of your constant toilet troubles is the first step in achieving a more peaceful bathroom experience. With our guide, you’ll delve into the most common reasons why toilets seem to clog more often than they should and learn practical steps to fix and prevent clogs.
Let’s plunge into this issue and unclog the confusion around your problematic potty situations.
The Importance of Understanding the Causes of Toilet Clogging
If you’ve ever had to deal with a clogged toilet, you know how much of an inconvenience it can be. Now, if you find it happening with alarming frequency, it’s more than just an inconvenience; it’s a recurring problem that needs to be addressed.
The causes can be varied, from simple human error to deeper plumbing malfunctions, and each one requires a slightly different approach. By understanding what’s causing your clogs, you take a proactive step toward solution-finding and preventing future issues.
Common Causes of Toilet Clogging
Excessive Toilet Paper Usage
Perhaps the most benign and common reason for clogs is the overuse of toilet paper. It’s a delicate balance – using enough to be clean without using so much that it causes a backup. In households with many users or where the toilet is utilized frequently, this is often the starting point in the investigation.
Flushing Non-Flushable Items
We’re often reminded not to flush things like diapers, cotton swabs, or feminine hygiene products down the toilet. However, even relatively innocuous items like dental floss can entangle the plumbing and cause a blockage further down the line.
Low Water Flow
Older toilets, especially those built before the energy conservation regulations of the 1990s, have a much higher water capacity per flush. Newer, more water-efficient models might struggle with the same amount of waste due to less water being available to push everything through.
Blocked Trap or Drain Line
The inner workings of your toilet’s drain system can be the ultimate cause of repeated issues. Whether it’s a foreign object lodged in the trap or a persistent blockage in the drain line, these can be difficult to dislodge and often require professional attention.
Troubleshooting Steps
Here are the crucial steps you can take to figure out and fix why your toilet keeps clogging.
Step 1: Assess the Water Level
Perform a visual inspection of the water level in your toilet bowl. If it’s close to overflowing, the issue could be near the top of the line and may be resolved with some at-home interventions.
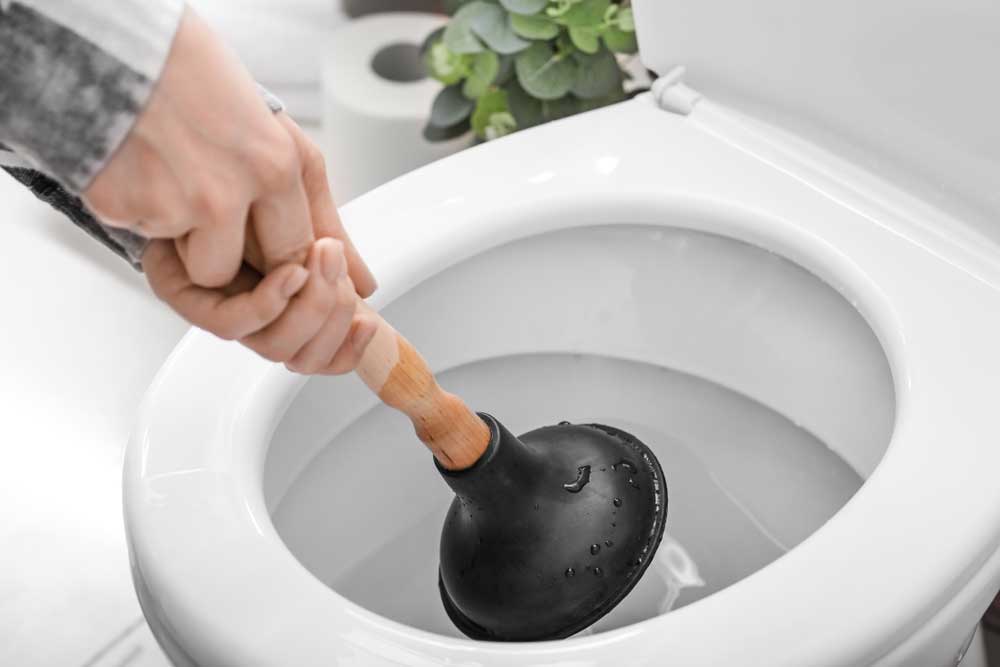
Step 2: Plunge the Toilet
Using a plunger is a classic method to clear common clogs. Whether it’s due to excess tissue or a modest obstruction, a plunger can often do the trick.
Step 3: Use a Toilet Auger
If the plunger doesn’t work or the clog seems more resistant, a toilet auger can help break it down by physically moving the object or breaking up tougher blockages.
Step 4: Check the Trap and Drain Line
For more stubborn or persistent issues, it may be necessary to inspect the trap inside the toilet bowl or the drain line. For many homeowners, this is the line where professional help is warranted.
Step 5: Call a Professional
If you find yourself regularly performing plunging or auger use, or if the problems seem never-ending, it’s time to call in a professional plumber. Repeated clogging can be a symptom of a larger issue that only expert eyes can diagnose and repair.
Preventive Measures
An ounce of prevention is worth a pound of cure. To prevent future clogs, here’s what you can do:
Proper Toilet Paper Usage
Be mindful of how much toilet paper you’re using. High-ply or thick tissue may feel luxurious, but a little can go a long way. If you find your toilet can’t handle it, consider switching to a more septic-friendly brand.
Avoid Flushing Non-Flushable Items
Make sure all users of the toilet are educated on what should and shouldn’t be flushed. Offer a trash can in the bathroom for items that don’t belong in the toilet.
Regular Plumbing Maintenance
Consider scheduling regular check-ups for your plumbing. Just like you might service your car to prevent breakdowns, having a professional look over your home’s pipes can catch issues before they escalate.
By familiarizing yourself with the causes and remedies for toilet clogs, you’re better equipped to handle these household hiccups. Remember, while DIY maintenance can solve many problems, don’t be afraid to reach out to a professional if you’re stuck in the endless cycle of clogs.
With a bit of care and attention, your affectionately termed ‘throne’ can once again reflect its majestic stature in your bathroom kingdom.

13 Mar. 2024
How to Fix Low Water Pressure in House: Restoring Your Home’s Flow
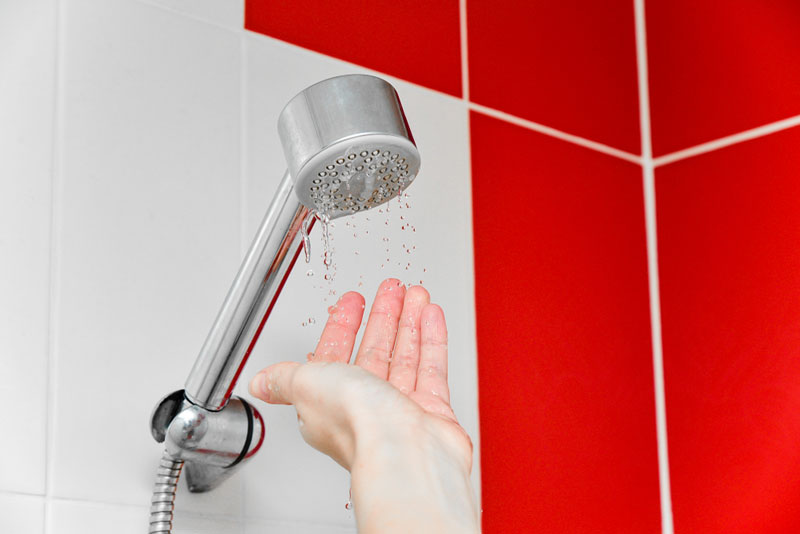
Low water pressure is not just a minor inconvenience; it can disrupt our daily routines and signify significant issues in our homes’ plumbing systems. If you’ve ever had to deal with weak water flow that makes simple tasks like showering or washing dishes frustrating, you’re not alone.
Thankfully, there are ways to address low water pressure and restore your home’s flow to its full potential, whether you decide to tackle it yourself or call in a professional.
Let’s dive into the process of identifying and fixing low-water pressure problems in your house.
Understanding the Causes of Low Water Pressure
Before we roll up our sleeves and get to work, it’s essential to understand why low water pressure occurs. Several factors contribute to this issue, which could be isolated to specific fixtures or widespread across your entire household.
Common Causes Include:
- Debris Buildup: Sediment, dirt, and other particles can accumulate in your pipes over time, constricting water flow.
- Mineral Deposits: Hard water is a common culprit, leading to the accumulation of mineral deposits that reduce pipe diameter.
- Partially Closed Valves: Valves leading to individual appliances or areas of the house may be partially closed, limiting water intake.
- Leaks: Even small leaks can divert a significant portion of your water supply, impacting the pressure elsewhere in the system.
Step 1: Check for Localized Problems
The first step is to check if the low water pressure issue is localized to a specific faucet, showerhead, or valve. Begin by assessing the water flow in various areas of your home. If only one fixture is affected, there’s a good chance the problem is with that specific item rather than the entire system.
Assessing Faucets and Showerheads:
- Remove the nozzle or showerhead and clean out any debris that may be clogging the water outlets.
- Inspect the aerator or screen for buildup and ensure it hasn’t been damaged.
Examining Valves:
- Identify any valves you can find leading to the affected area and ensure they are fully open.
- If valves appear to be in the correct position, try closing and then reopening them to dislodge any blockages.
Step 2: Inspect the Main Water Valve
If the entire household is experiencing low water pressure, the next step is to inspect the main water shut-off valve. This valve can be partially closed due to accidental nudges or for maintenance and then forgotten, leading to decreased water flow throughout the house.
Locating the Main Water Valve:
- In most homes, you can find the main shut-off valve where the water line enters the house.
Assessing the Valve:
- Turn the valve counterclockwise to ensure it’s in the fully open position.
- If the valve has a wheel handle, it is often parallel to the pipe when open. If it’s a lever, it’s typically perpendicular to the pipe when off and parallel when on.
Step 3: Clearing Clogs in Pipes
If neither localized issues nor the main shut-off valve are causing the problem, it’s time to clear out any clogs that may be affecting the water flow through your pipes.
DIY Solutions for Clearing Clogs:
- Begin by shutting off the water supply to the affected area.
- Use a plumber’s snake or auger for standalone fixture lines and water pressure from another source to push the clog out through the main line.
- Alternatively, eco-friendly options like baking soda and vinegar can help break down buildup without harsh chemicals.
- Consult the help manual of your plumbing system for specialized directions.
Step 4: Addressing Pipe Leaks
Even the smallest leaks can have a significant impact on your water pressure. Check for any signs of leaks around your house, such as damp spots, mold growth, or unexplained increases in your water bill.
Identifying Leaks:
- Check under sinks, around appliances, and in basements or crawl spaces for visible leaks.
- Leaks don’t always present themselves in obvious ways, so you may need to let the water run to detect more subtle issues.
Fixing Leaks:
- For minor leaks, like those in pipes or fittings, you may be able to tighten connections or use a sealant.
- Larger leaks or those within walls should be addressed by a professional plumber to prevent further damage and ensure a thorough fix.
Step 5: Consulting a Professional
If you’ve gone through the previous steps and haven’t resolved the issue—or if you’re uncomfortable performing any of the suggested tasks—contacting a professional plumber is the best course of action. They have the expertise and tools to diagnose and fix more complex plumbing problems.
When to Call a Plumber:
- If the problem persists after clearing clogs or addressing valve issues, it may indicate a larger issue with the plumbing system.
- Professionals can also provide long-term solutions to combat issues like hard water or recurring clogs.
What to Expect from a Plumbing Service:
- A plumber will typically perform a comprehensive inspection to determine the cause of the low water pressure.
- They will then advise on the best course of action to restore your home’s water flow, providing an estimate for the work involved.
By following these steps, you can address low water pressure in your house and enjoy a fully functioning plumbing system once more. Remember, patience and caution are always key when working with any plumbing issues, and safety should be the utmost priority. If in doubt, don’t hesitate to reach out to a professional for assistance.
Maintaining a healthy plumbing system ensures a comfortable living environment and can even prevent more significant and costly issues in the future. It’s an investment in your home’s infrastructure and your peace of mind.

19 Feb. 2024
How to Turn Off Water to Toilet: Plumbing Basics
Without regular maintenance, a toilet can quickly become a nightmare in your home. It is crucial to have a properly functioning plumbing system for the safety and comfort of your home. Knowing how to turn off the water supply to your toilet is essential plumbing knowledge that can save you from a lot of trouble.
In this post, we will discuss the importance of knowing how to turn off the water supply to your toilet, when it is necessary to turn off the water supply, and the steps to follow to turn off the water supply to your toilet.
Why is it Important to Know How to Turn Off the Water Supply to Your Toilet?
Knowing how to turn off the water supply to your toilet is important for several reasons. First and foremost, it allows you to quickly stop the flow of water in case of an emergency, such as a leak or a burst pipe. This can prevent further damage to your home and save you from costly repairs.
In addition, being able to turn off the water supply also gives you the freedom to work on your toilet without worrying about water running and making a mess. This can be especially useful when performing routine maintenance or repairs on your toilet.
When is it Necessary to Turn Off the Water Supply to Your Toilet?
There are several situations where it is necessary to turn off the water supply to your toilet. These include:
- When there is a visible leak in your toilet or surrounding pipes.
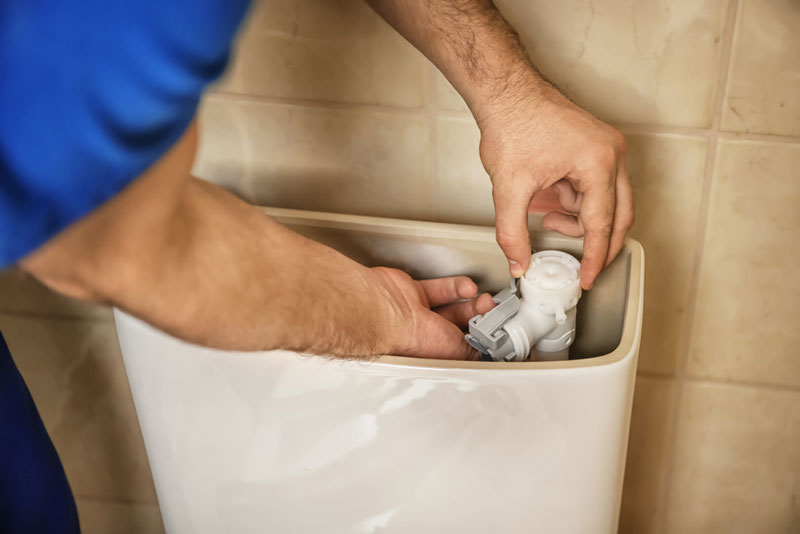
- When you are replacing any parts of your toilet, such as a flapper or fill valve.
- When performing routine maintenance, such as cleaning the tank or flushing out the supply line.
- If you will be away from home for an extended period of time and want to prevent any potential water damage while you are gone.
Steps for Turning off the Water Supply to Your Toilet
Step 1: Locate the water shut-off valve. Most toilets have a shut-off valve located behind or near the toilet on the wall. It is usually a small knob or lever that can be turned to stop the water flow.
Step 2: Turn off the water supply by turning the shut-off valve clockwise until it stops. This will prevent water from flowing into the toilet tank.
Step 3: Flush the toilet to drain any remaining water in the tank. This will make it easier to work on the toilet without getting wet.
Step 4: To ensure that all the water is drained, hold down the flush handle while using a plunger or sponge to remove excess water from the tank and bowl.
Step 5: Once you have completed your work, turn the shut-off valve counterclockwise to restore water flow to the toilet.
By following these simple steps, you can easily turn off the water supply to your toilet and prevent any potential plumbing emergencies. Remember, it is important to know where your shut-off valve is located and how to use it in case of an emergency.
In conclusion, mastering plumbing basics is an essential skill for any homeowner. Knowing how to turn off the water supply to your toilet and your home can save you from costly repairs and potential disasters. Remember to always exercise caution when working with plumbing and consult a professional if you are unsure about any techniques or procedures.